If you or your client's or vendor's workflows leverage Aspera Nodes, you can use the Send to External Target feature in Ci to send files to an external Aspera Node.
-
Select a file you want to send to an Aspera Node, and then either click "Share" -> "Send to External Target" in the Action Bar...
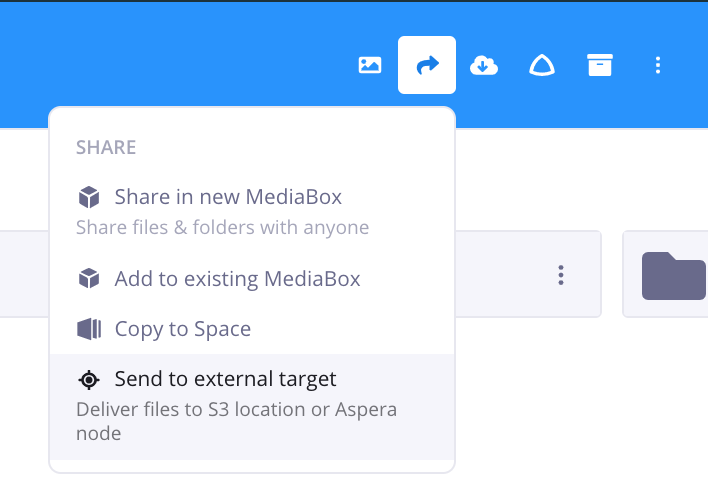
Figure 1. Sending a file to an External Target from the Action Bar
...or right-click on the file, then select "Share" -> "Send to External Target" in the file's context menu: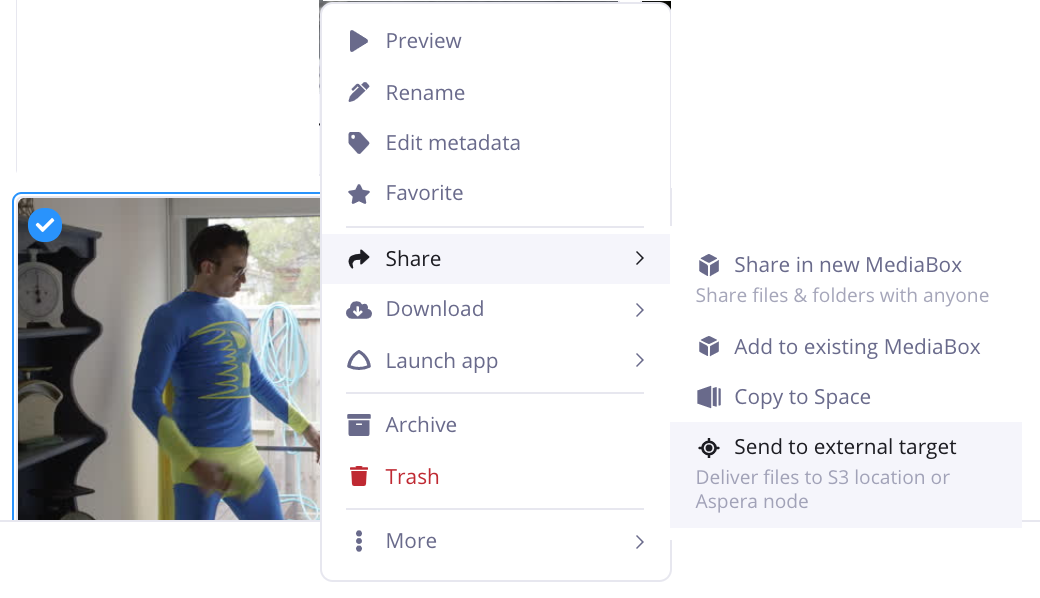
Figure 2. Sending a file to an External Target from the file's context menu
NOTE: Send to External Target does not support folder transfers.
-
The Send to External Target dialog allows you to either select an existing external target or create a new one:
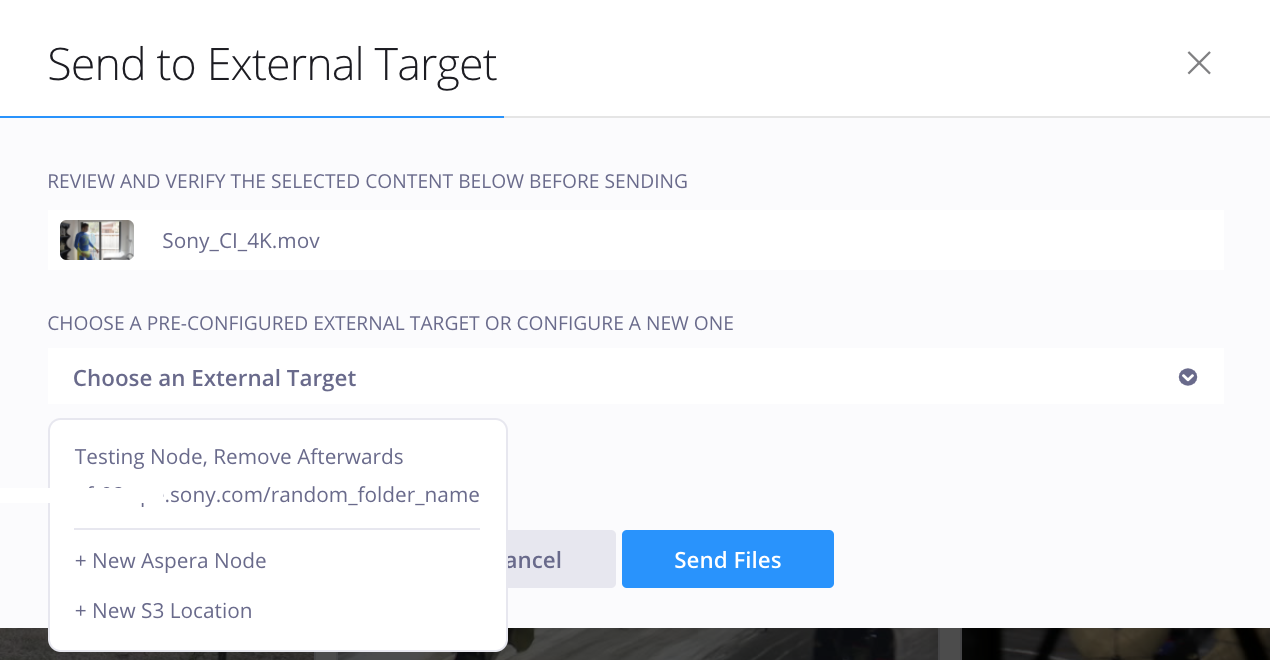
Figure 3. Send to External Target dialog
3. To create a new Target Aspera Node, fill in and submit the following dialog:
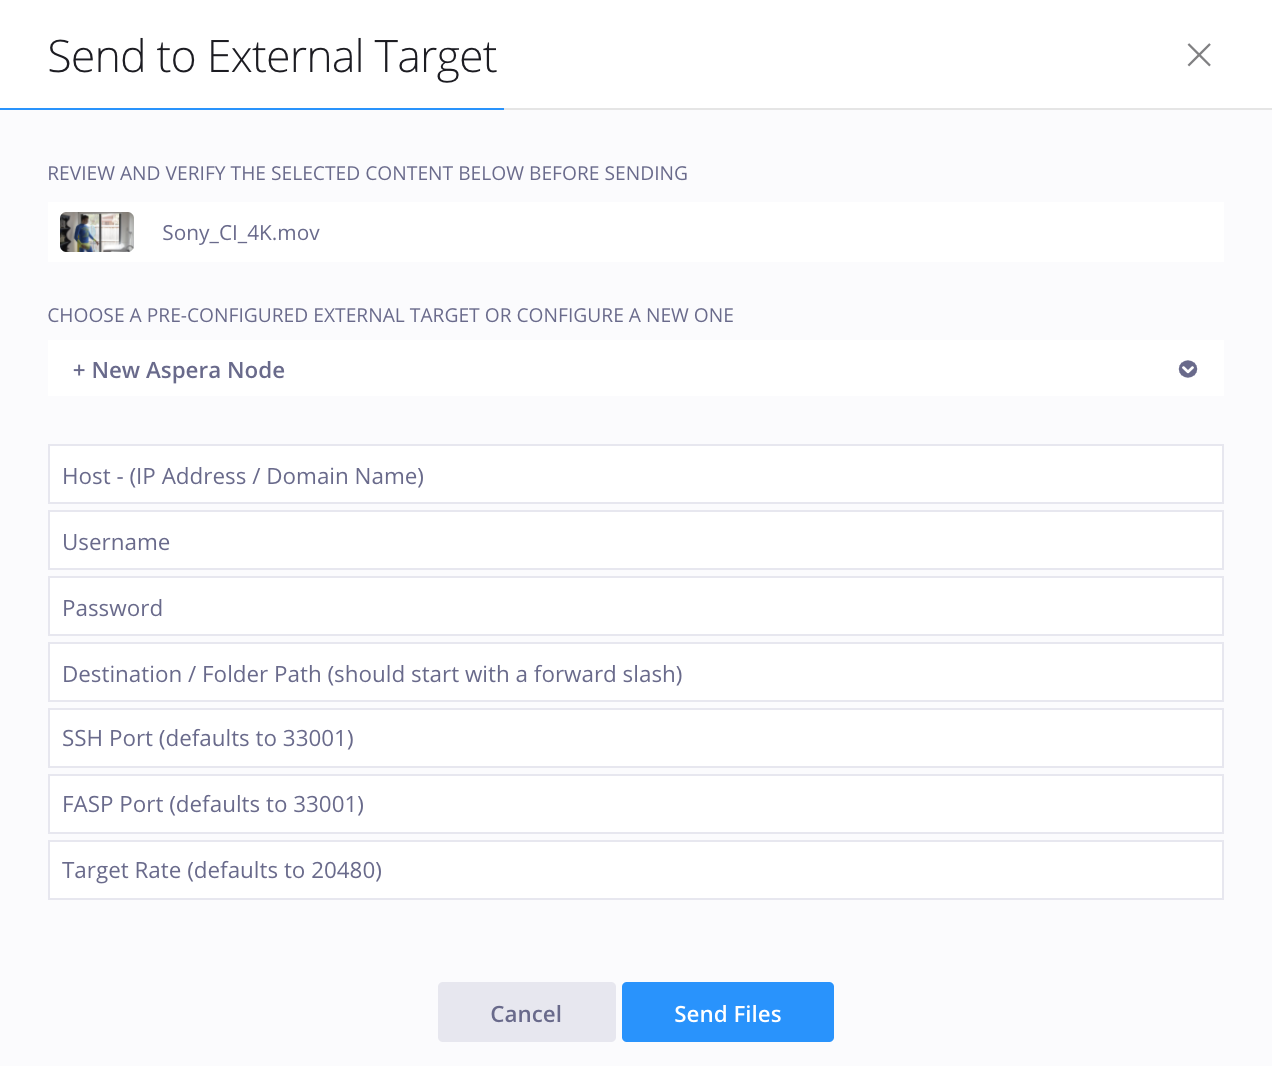
Figure 4. Setting up a new Target Aspera Node
4. Click Send Files.
5. To track the transfer status, click on the "External Transfers" ![]() icon just above the user avatar in the left part of the user interface:
icon just above the user avatar in the left part of the user interface:
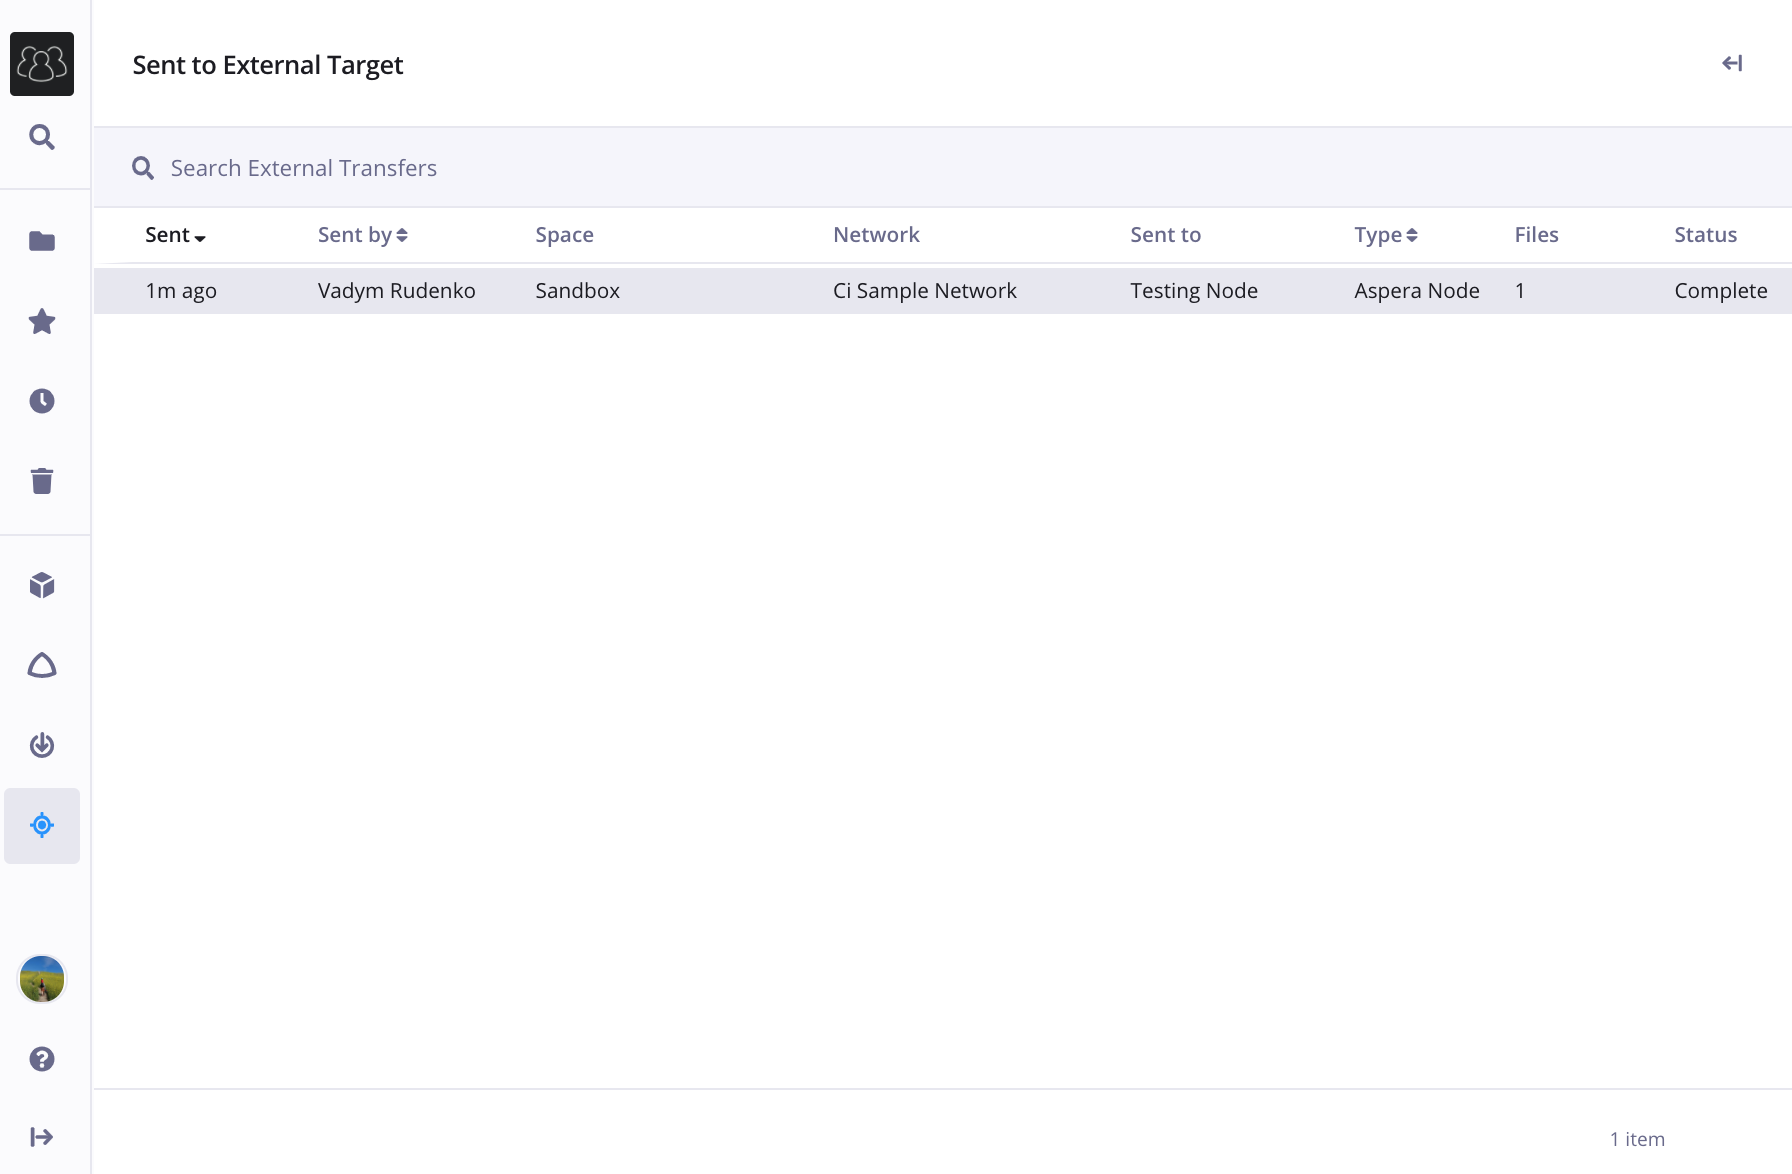
Figure 5. List of external transfers.
The status could communicate Connecting, Transferring, Completed and Failed depending on the state of the export.
Click on the item to see additional details on the right side of the Ci interface.
For any additional questions, please reach out to the Ci Customer Success Team by submitting a request here in the Help Center.