Ci provides a user with a capability of uploading files (for example, video files, images, documents or closed captions) that he/she wants to associate with the main asset. In order to do this, the user should follow these simple steps:
1. Select a file and open it for a preview (this can be done by clicking on the View option in the Action Bar or clicking on a Preview option in the file's context menu, or just double-clicking on the file itself):
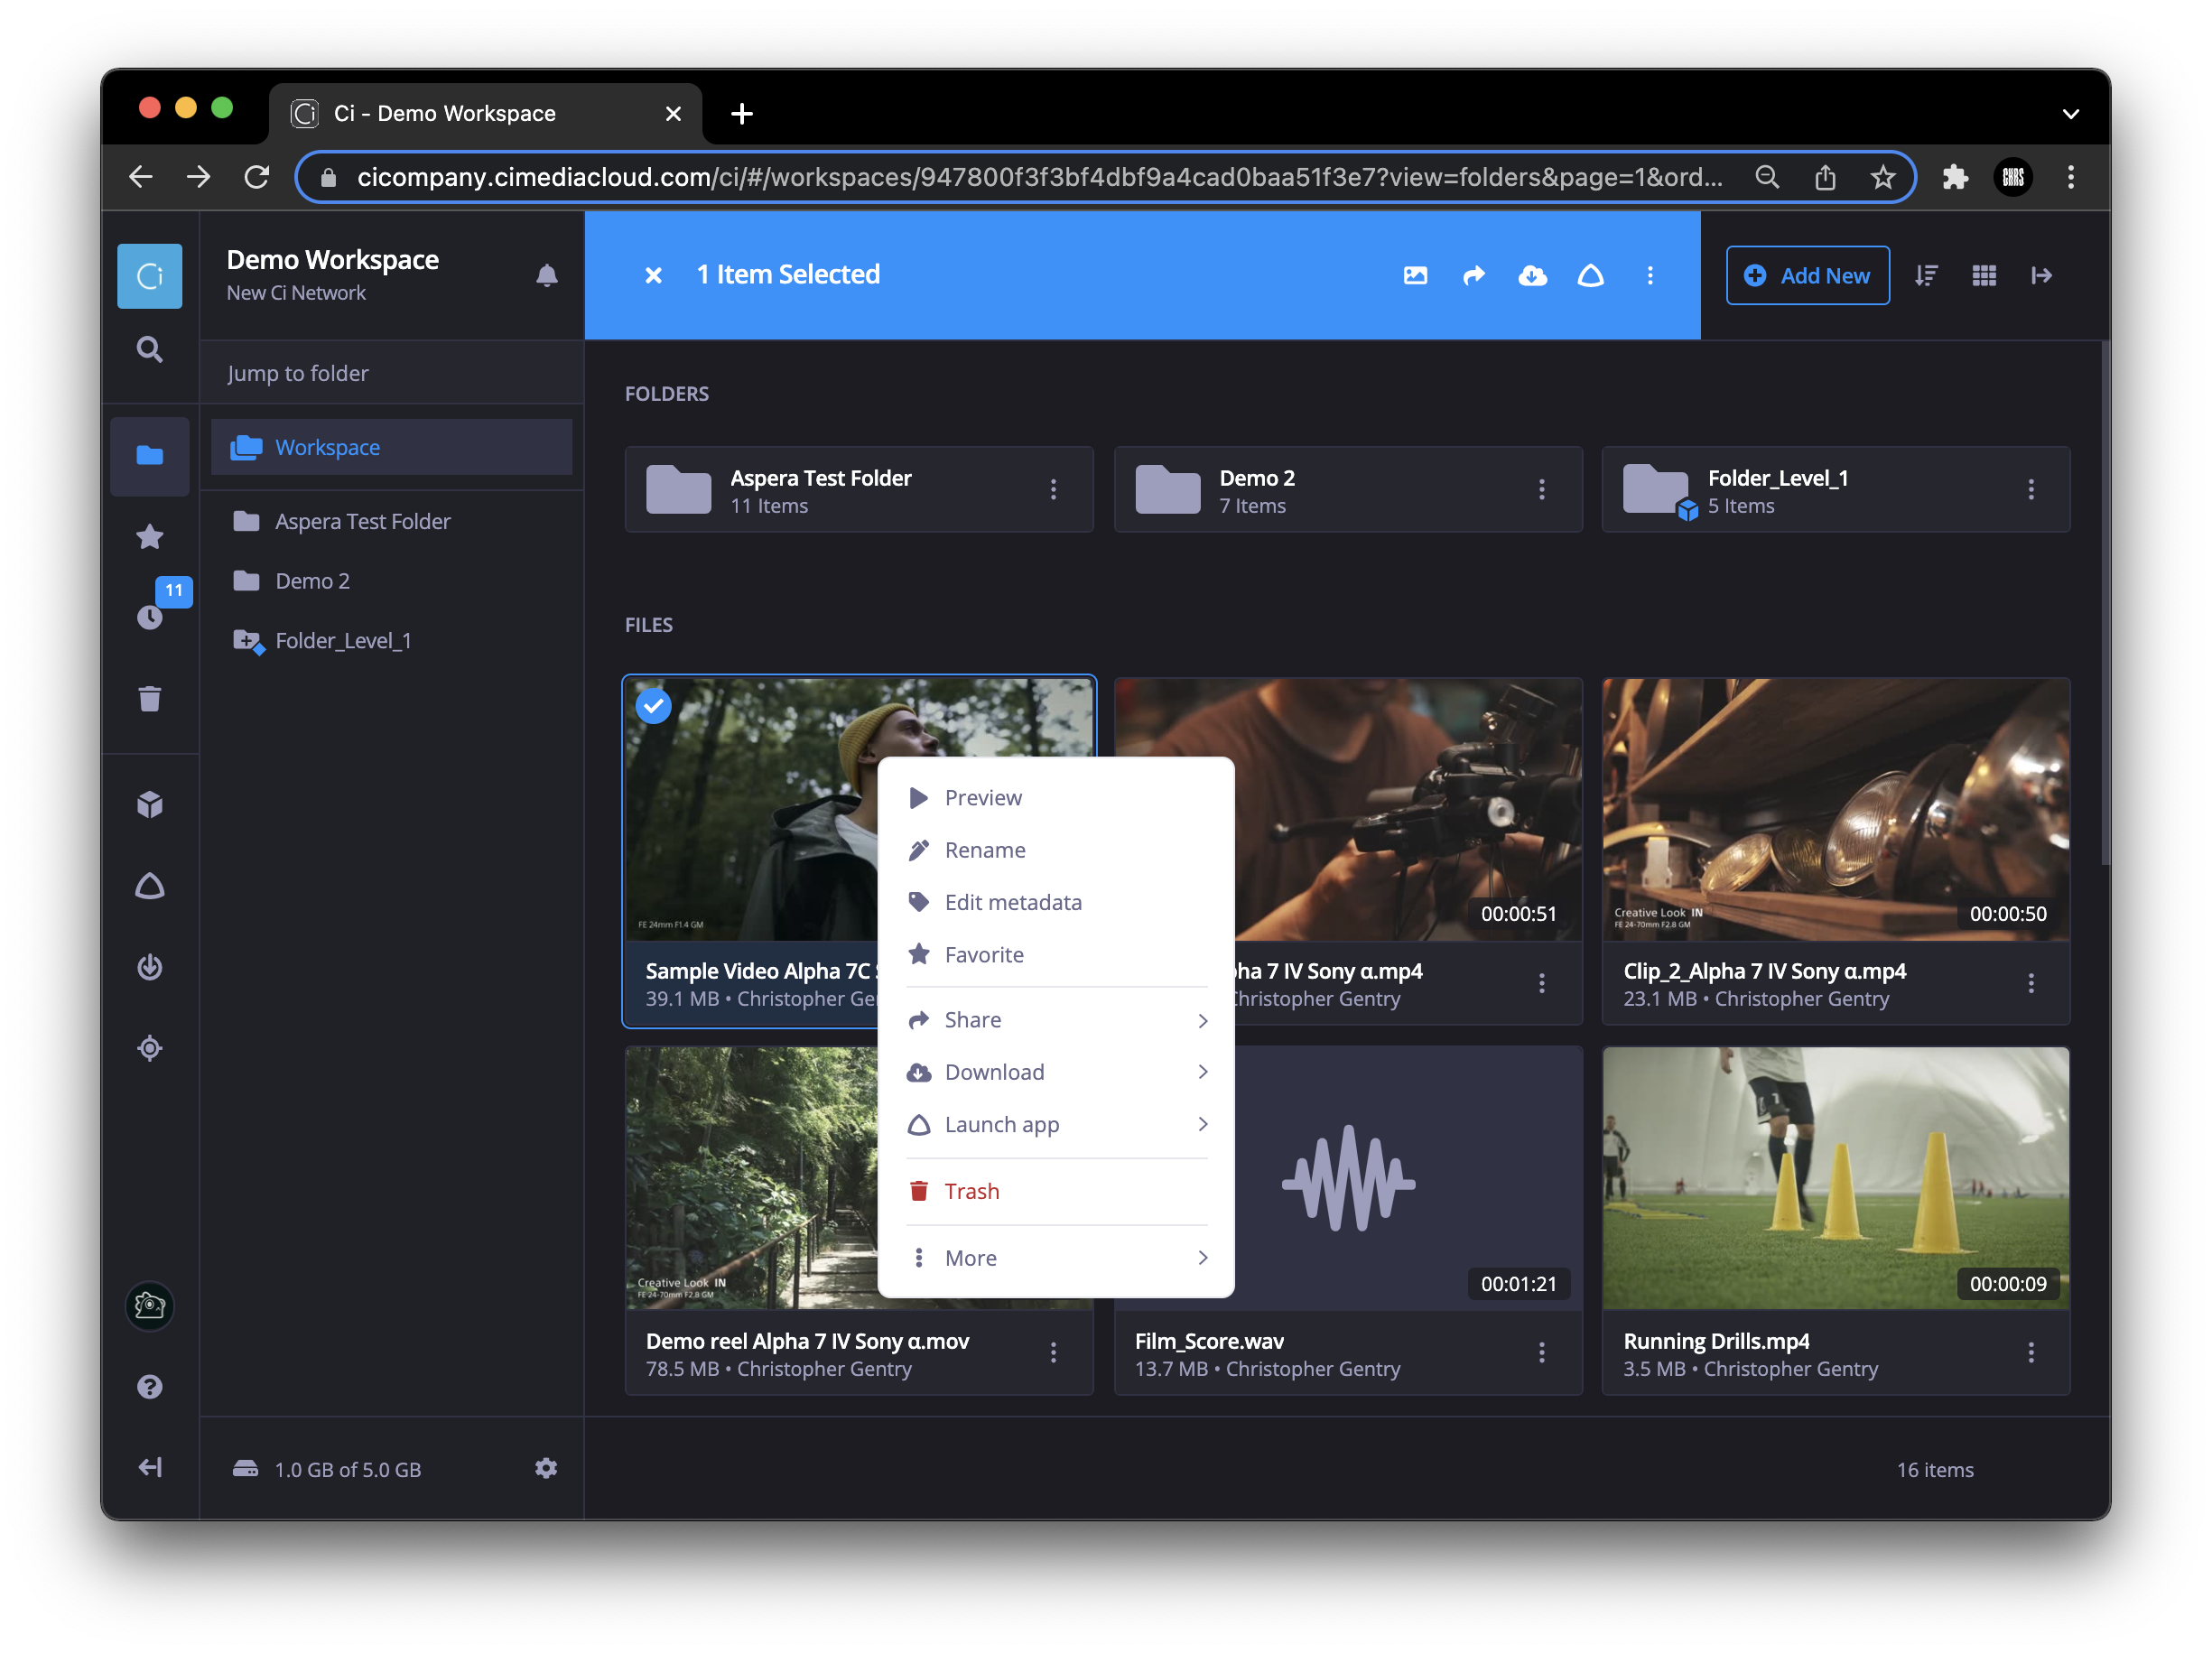
Figure 1: Opening a file for preview
2. Once the preview page opens, the user should scroll the page down to the File Elements tab or just click View -> Elements:
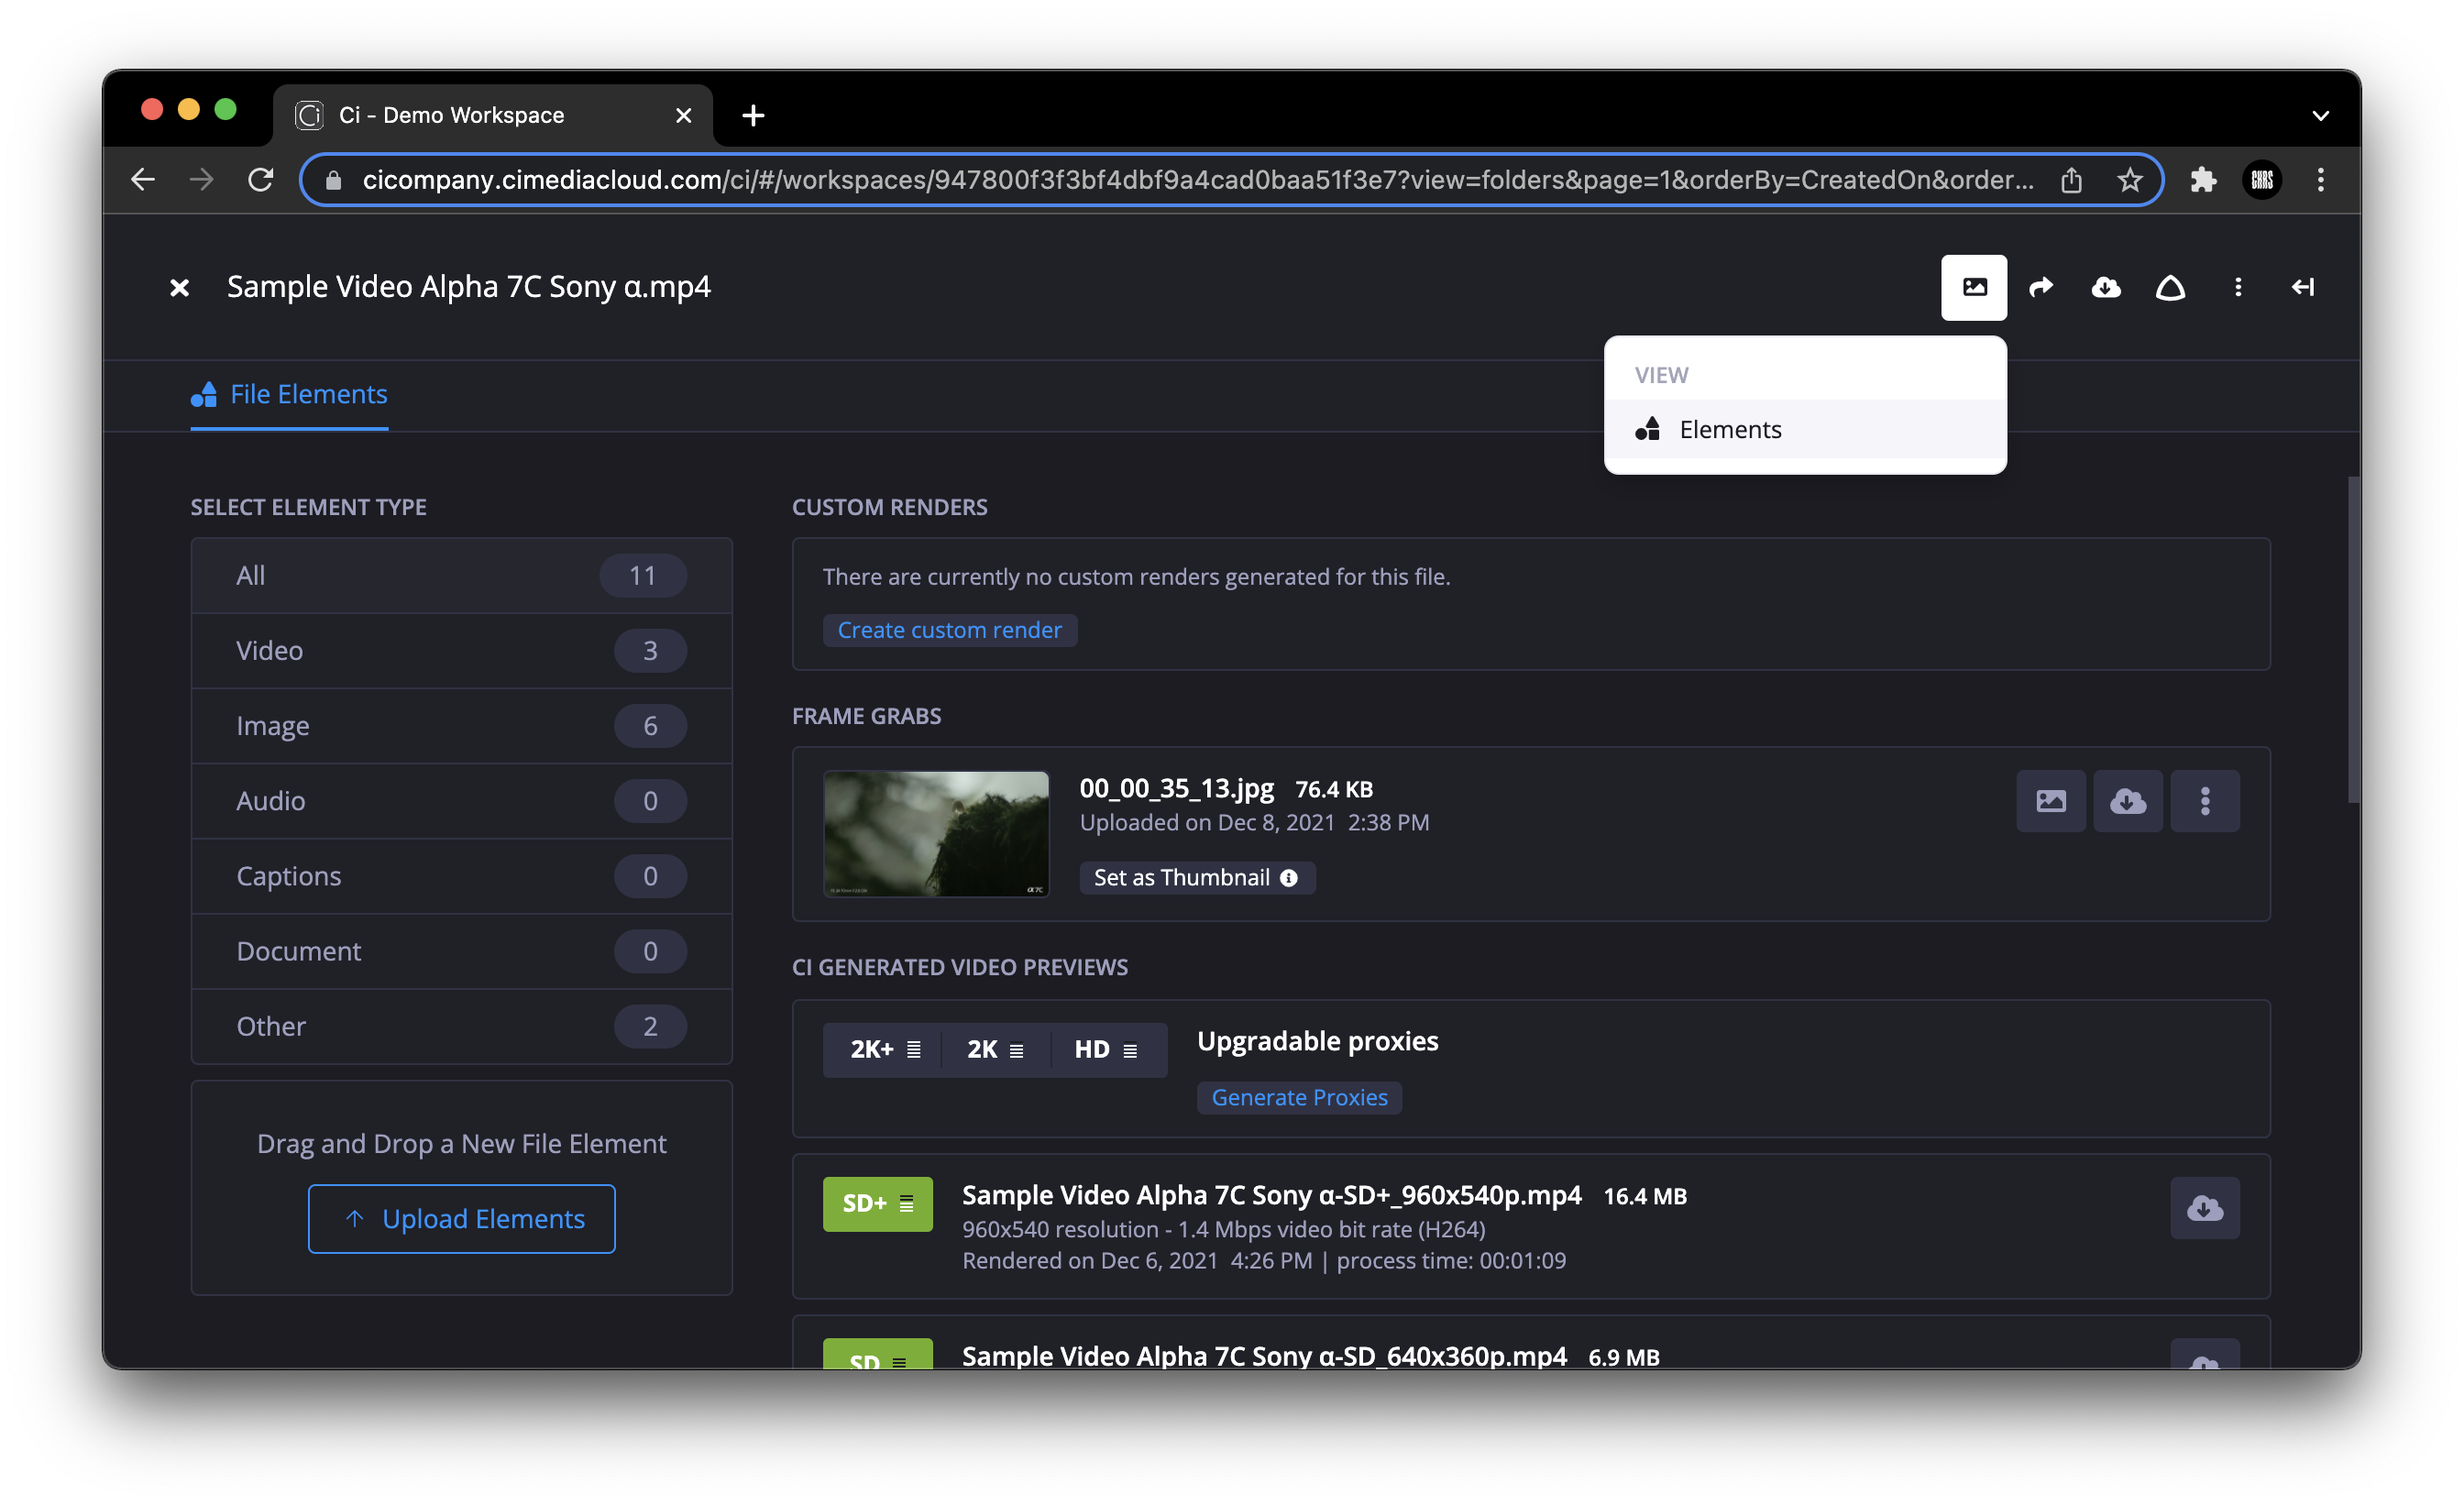
Figure 2: File elements tab
The File Elements tab contains all the elements related to the file, both generated by Ci (preview proxies, custom renders, frame grabs, etc) and uploaded by the user.
3. The user then should click on the Upload Elements button. Alternatively, the user can drag-n-drop an element:
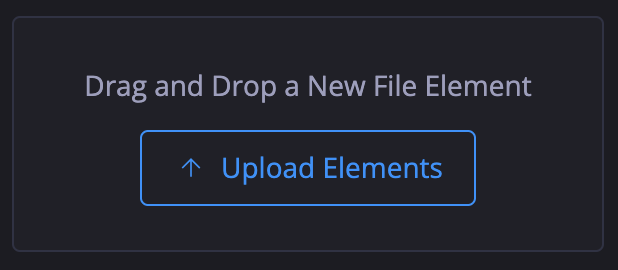
Figure 3: Upload File Element here
Once upload gets started, the user will see its progress, as well as subsequent statuses (such as Processing, Complete, etc). The elements will be also visible and downloadable from the File Elements tab:
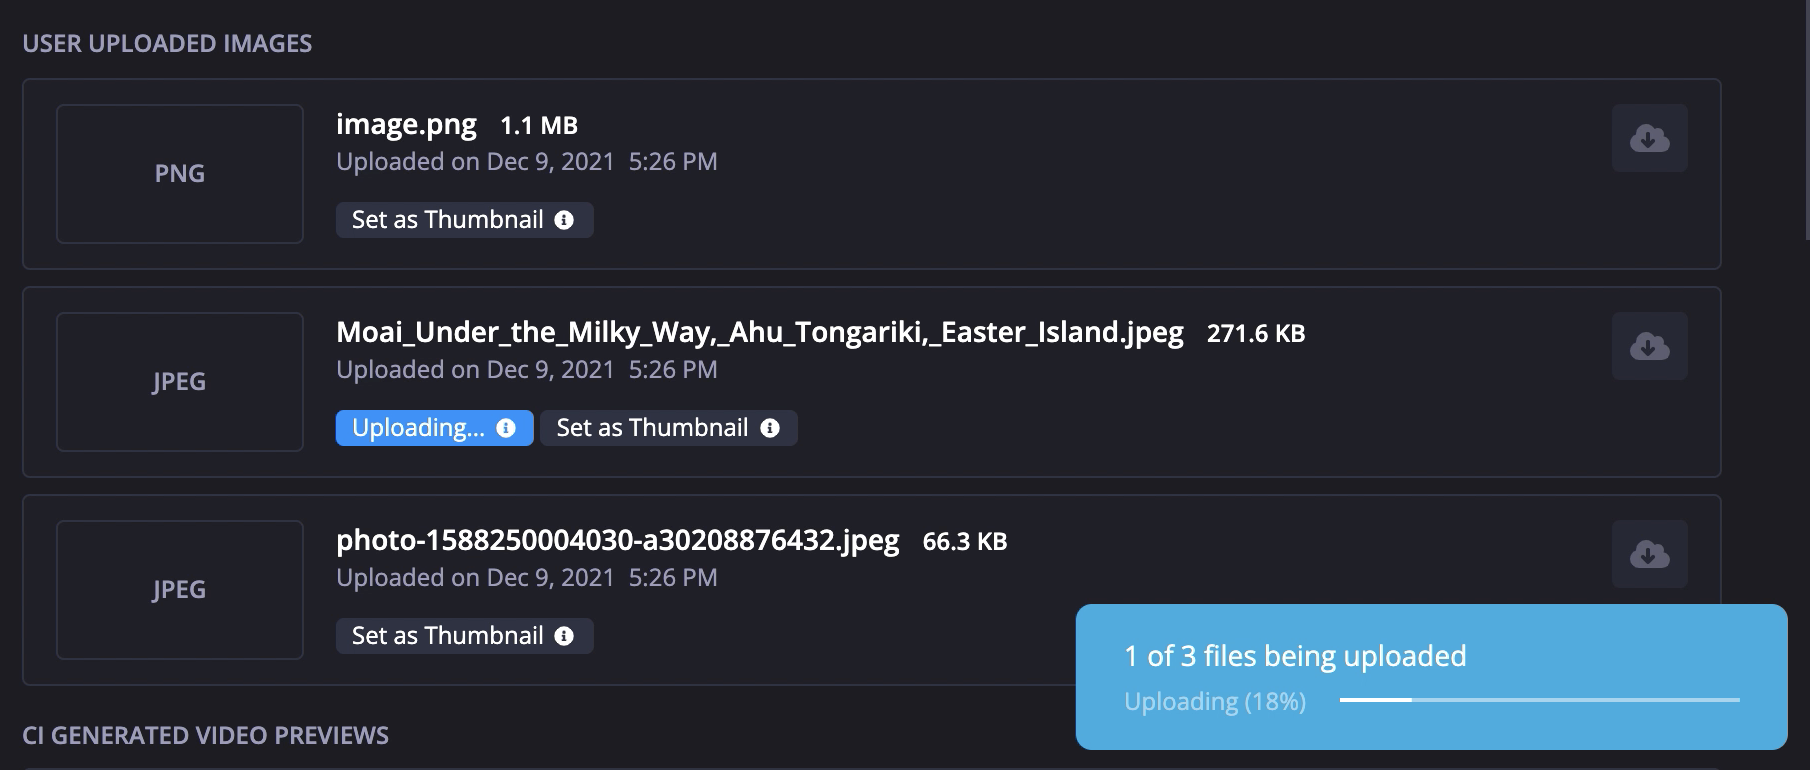
Figure 4: File Elements uploaded by user
The other options available for file elements uploaded by a user are:
— Copy Element (This option allows the user to copy an element from one file to other file(s). The user can copy elements to other copies of a given file or select different files);
— Download Element (using either Standard download or Aspera Connect plugin);
— Delete Element;
For any additional questions, please reach out to the Ci Customer Success Team by submitting a request here in the Help Center.